Homemade coffee creamer is the secret to a better morning routine. There’s something magical about the first sip of coffee in the morning, warm, comforting, and full of promise. But what if that experience could be even better with a splash of homemade coffee creamer? Made with real ingredients and tailored to your taste, it’s a small change that makes a big impact.

Unlike store-bought versions that often include artificial flavors and preservatives, this easy coffee creamer recipe puts you in control. You get to choose the base, adjust the sweetness, and even add your favorite flavor twists like vanilla, cinnamon, or cocoa. The best part? It takes less than 5 minutes to make.
Whether you’re looking for a budget-friendly alternative or a healthier, cleaner option, a DIY coffee creamer delivers both. And once you try it, you may never go back to the pre-made aisle again.
This homemade coffee creamer guide will walk you through the ingredients, the method, flavor ideas, and storage tips, all designed to make your mornings smoother, one cup at a time.
Recipe For Homemade Coffee Creamer
Prepare time
Cooking Time
Total Time
Portions
Ingredients & Tools
You don’t need fancy ingredients to make a delicious homemade coffee creamer. Just a few pantry staples and your favorite milk base are enough to get started. Whether you’re going for a classic vanilla vibe or something more adventurous, this recipe is flexible, fast, and made to fit your lifestyle.
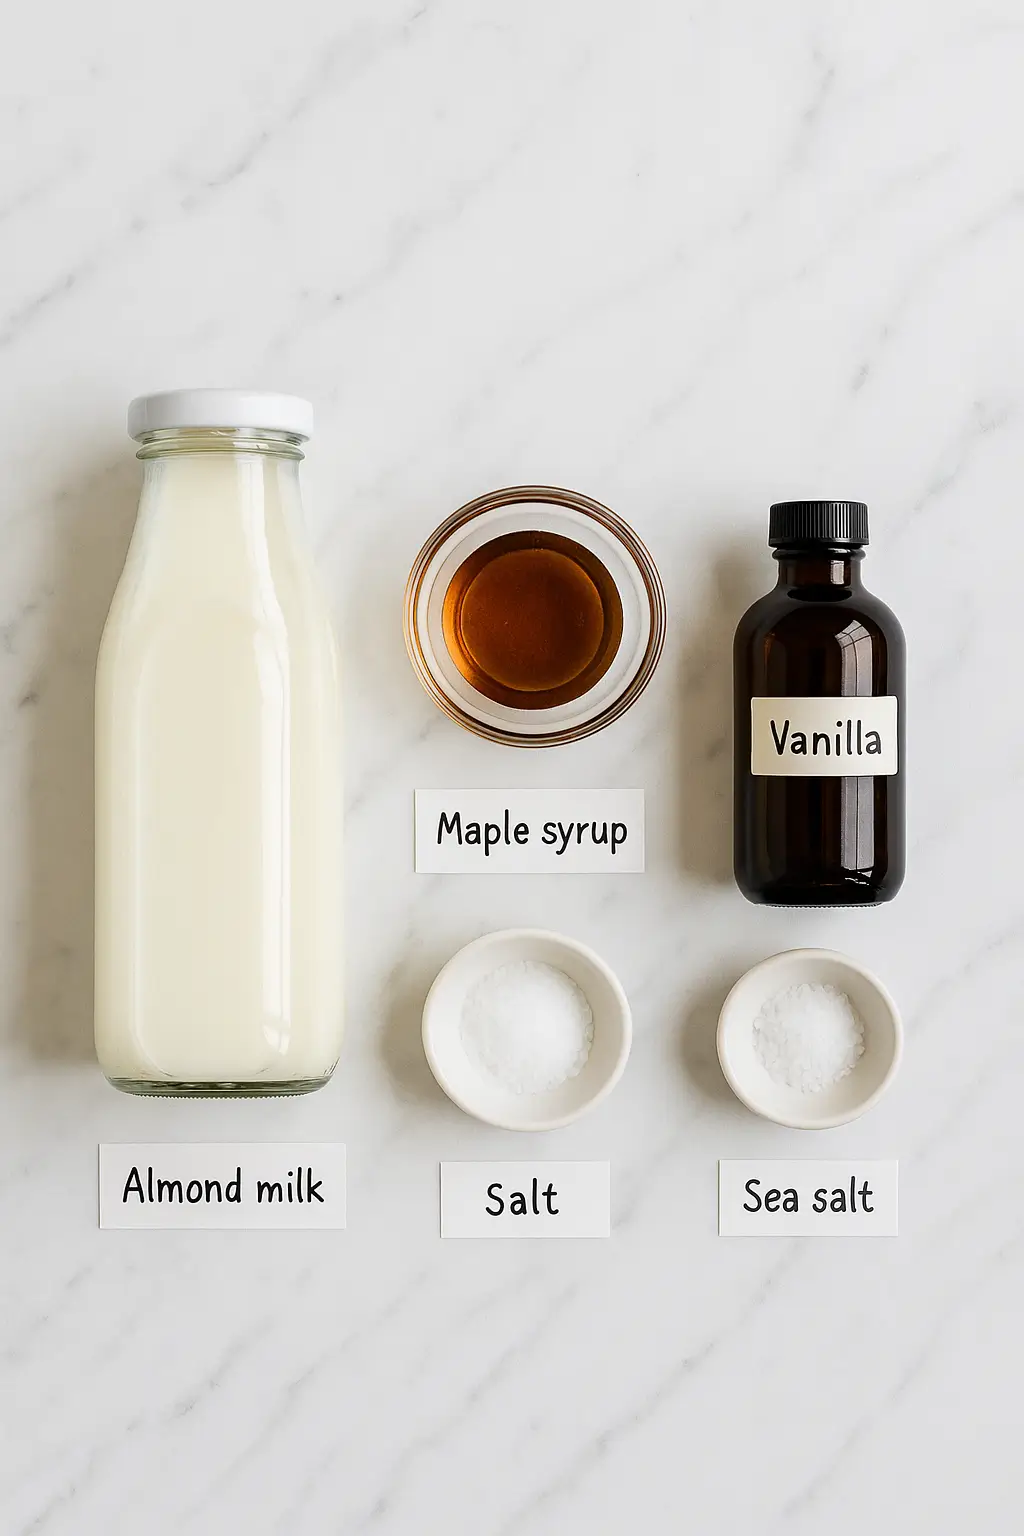
Ingredients (Base Recipe – 4 Servings)
Milk of choice – 1 cup
Almond, oat, or dairy-based options all work well. Not sure which milk suits your needs? Here’s a helpful breakdown of milk alternatives from Cleveland Clinic to guide your choice.Maple syrup or honey – 2 tablespoons
For a sugar-free coffee creamer, use stevia or erythritol instead.Vanilla extract – 1 teaspoon
Adds cozy, classic flavor.Sea salt – A pinch
Balances sweetness.Optional add-ins – To taste
Try cinnamon, cocoa powder, cardamom, or hazelnut extract.
Tip: Want a creamier texture? Swap your milk with canned coconut milk or half-and-half for a richer natural coffee creamer.
Tools You'll Need
Simple tools, likely already in your kitchen:
- Mason jar or small glass bottle (8 oz) – For storage
- Whisk or milk frother – For blending evenly
- Measuring cups and spoons – Accuracy makes a difference
- Label or masking tape – Note the flavor and prep date
Pro tip: Shake before each use. Some natural separation is totally normal.
Step-by-Step Method (5 Minutes Max)
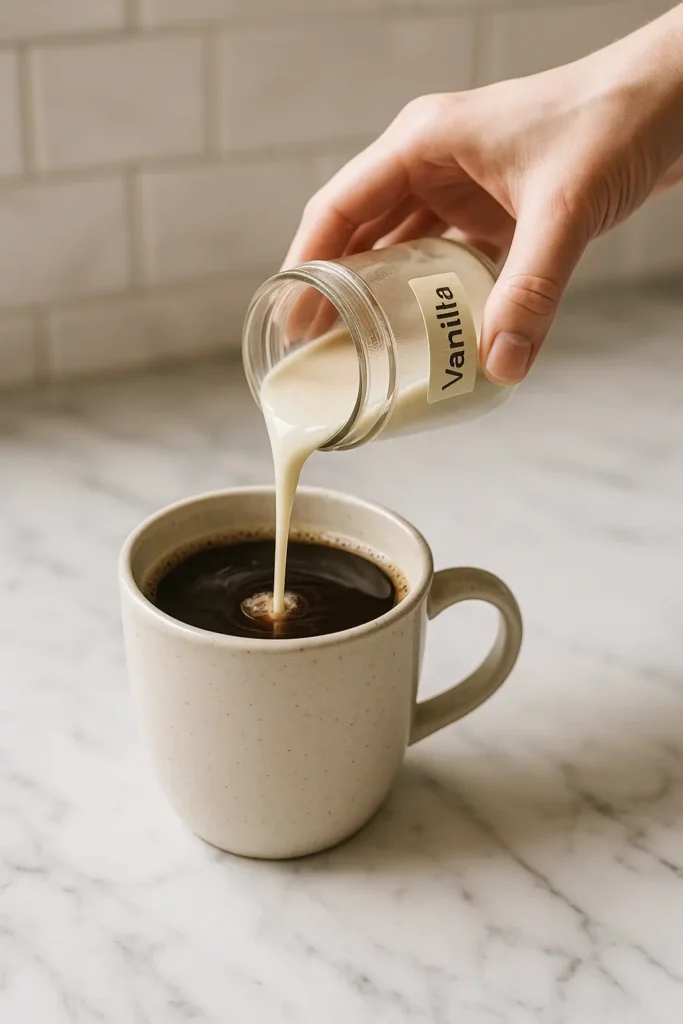
One of the best parts about making homemade coffee creamer is how quick and effortless it is. You don’t need to heat anything or use complicated tools. Just mix, shake, and pour.
Instructions – The Quick Mix Method
- Add all ingredients to a jar
Pour 1 cup of your preferred milk into a clean glass jar. Add 2 tablespoons of maple syrup (or your sweetener of choice), 1 teaspoon of vanilla extract, and a small pinch of salt. - Shake or whisk
Seal the jar tightly and shake vigorously for 30 seconds. Alternatively, use a small whisk or milk frother to blend everything until smooth. - Taste and adjust
Prefer it sweeter? Add a touch more syrup. Want more vanilla? Go for it! The beauty of this easy coffee creamer recipe is that you’re in control. - Store and chill
Keep it in the fridge for up to 5 days. Shake before each use, separation is natural.
Total time: under 5 minutes from start to sip.
Because this DIY coffee creamer is made with fresh, natural ingredients and no preservatives, proper storage is essential for keeping it safe and delicious.
How to Store Your Homemade Coffee Creamer
- Use an airtight glass container — A mason jar or a flip-top bottle works perfectly.
- Label your jar — Include the flavor and date it was made.
- Keep it refrigerated — Always store in the coldest part of your fridge (not the door).
Shelf Life
Your homemade coffee creamer will stay fresh for 4 to 5 days when stored properly. Because it contains milk (or a milk alternative), you should:
- Shake before each use — Natural separation is normal.
- Smell and taste — If it smells sour or the texture is off, discard it.
Tip: Always use a clean spoon when scooping to avoid introducing bacteria.
Storage & Shelf Life
Because this DIY coffee creamer is made with fresh, natural ingredients and no preservatives, proper storage is essential for keeping it safe and delicious.
How to Store Your Homemade Creamer
- Use an airtight glass container — A mason jar or a flip-top bottle works perfectly.
- Label your jar — Include the flavor and date it was made.
- Keep it refrigerated — Always store in the coldest part of your fridge (not the door).
Shelf Life
Your homemade coffee creamer will stay fresh for 4 to 5 days when stored properly. Because it contains milk (or a milk alternative), you should:
- Shake before each use — Natural separation is normal.
- Smell and taste — If it smells sour or the texture is off, discard it.
Tip: Always use a clean spoon when scooping to avoid introducing bacteria.
Bring It All Together
Once you’ve made your first batch of homemade coffee creamer, there’s no turning back. You’ll taste the difference instantly, creamy, flavorful, and completely yours.
With just a few simple ingredients and five minutes of your time, you’ve created something that’s better than store-bought in every way: healthier, customizable, and fresh.
Whether you’re starting your day with a cup of warmth or winding down with something cozy, your creamer adds that personal, perfect touch.
Ready to take it further? Try your creamer in iced coffee, chai tea, or even as a sweet drizzle over oatmeal.
What to Try Next
Check out these quick recipes to pair with your coffee moment:
- Overnight Oats with Almond Butter and Banana
- brazilian mounjaro recipe — Vibrant Herbal Detox Tea
- Quick Chia Pudding in 5 Minutes
Frequently Asked Questions (FAQ)
How long does homemade coffee creamer last?
Stored in a sealed glass jar in the fridge, it stays fresh for 4 to 5 days.
Can I make it dairy-free?
Absolutely. Use almond, oat, coconut, or cashew milk as your base.
What’s the best sugar-free option?
Stevia, monk fruit, or erythritol all work great. Start with a small amount and adjust to taste.
Can I use this in iced coffee?
Yes! It blends just as well in cold drinks — just give it a good shake beforehand.
Can it be frothed like store-bought creamers?
Yes, especially if made with full-fat oat or coconut milk. Use a milk frother for best results.

Best-Ever Homemade Coffee Creamer
5 Stars 4 Stars 3 Stars 2 Stars 1 Star
No reviews
Creamy, customizable homemade coffee creamer you can whip up in 5 minutes using natural ingredients. No preservatives, dairy-free options available, and full of flavor.
- Total Time: 5 minutes
- Yield: 4 servings 1x
Ingredients
1 cup milk of choice (dairy, almond, oat, coconut, etc.)
2 tbsp maple syrup or honey (or stevia/erythritol for sugar-free)
1 tsp vanilla extract
Pinch of sea salt
Optional: cinnamon, cocoa powder, hazelnut extract, cardamom
Instructions
Add all ingredients to a clean glass jar.
Seal and shake vigorously for 30 seconds or use a whisk/frother to mix.
Taste and adjust sweetness or flavor to preference.
Store in the refrigerator for up to 5 days.
Shake before each use as natural separation may occur.
Notes
Use a clean spoon to avoid contamination. For richer texture, try coconut milk or half-and-half. Label your jar with flavor and date.
- Author: Benjamin Scott
- Prep Time: 5 minutes
- Cook Time: 0 minutes
- Category: Beverage
- Method: No-Cook
- Cuisine: American
Nutrition
- Serving Size: 2 tbsp
- Calories: 50
- Sugar: 5g
- Sodium: 20mg
- Fat: 2g
- Saturated Fat: 1g
- Unsaturated Fat: 1g
- Trans Fat: 0g
- Carbohydrates: 6g
- Fiber: 0g
- Protein: 1g
- Cholesterol: 0mg






No comment yet, add your voice below!