


California crunch roll sushi is my go to fix for those nights when I want something fun and snacky, but I do not want to spend a bunch of money on takeout. You know the feeling, you crave sushi, you open a delivery app, and suddenly one roll costs the same as groceries for two days. This roll hits that creamy avocado comfort, the cool cucumber crunch, and then the loud crispy topping that makes it feel restaurant style. Also, it is honestly easier than it looks once you do it one time. If you have ever felt intimidated by rolling sushi at home, this is the one I would start with. 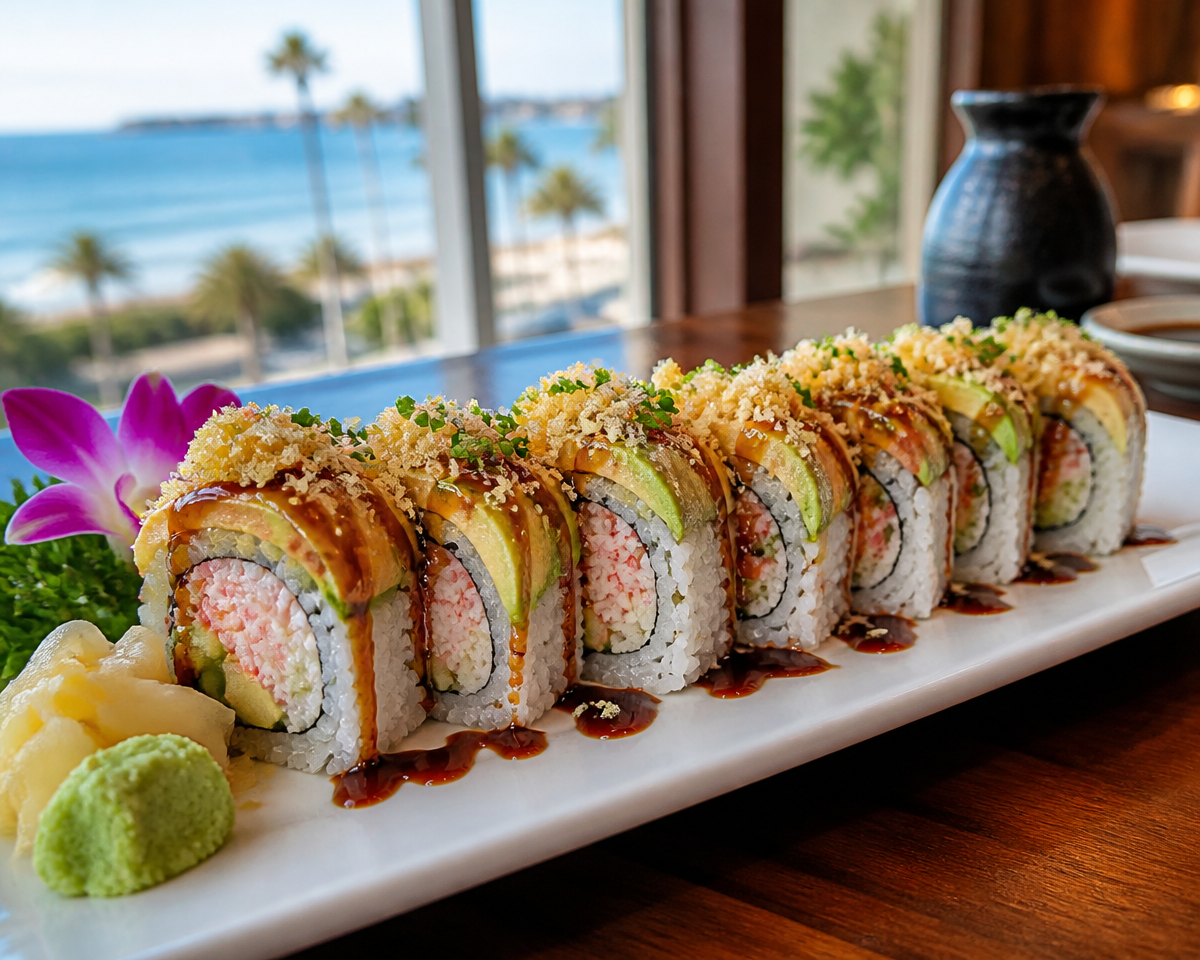
Table of Contents
What Gives a California Crunch Roll Its Creamy-Crispy Contrast
The magic of California crunch roll sushi is the contrast. You get soft, slightly tangy rice and creamy avocado, plus that sweet and salty crab filling, and then a shower of crispy panko on top that makes every bite exciting.
The creamy part is mostly avocado and the mayo style crab mixture. The crispy part comes from toasted panko crumbs, and if you add a little spicy mayo or eel sauce, it sort of glues everything together and adds that glossy finish.
If you are new to this style, you might also like this similar roll recipe I keep bookmarked because it is super straightforward: Crunchy Roll Sushi. It is the same vibe, just a slightly different approach, and it helps you see how flexible crunchy sushi can be.
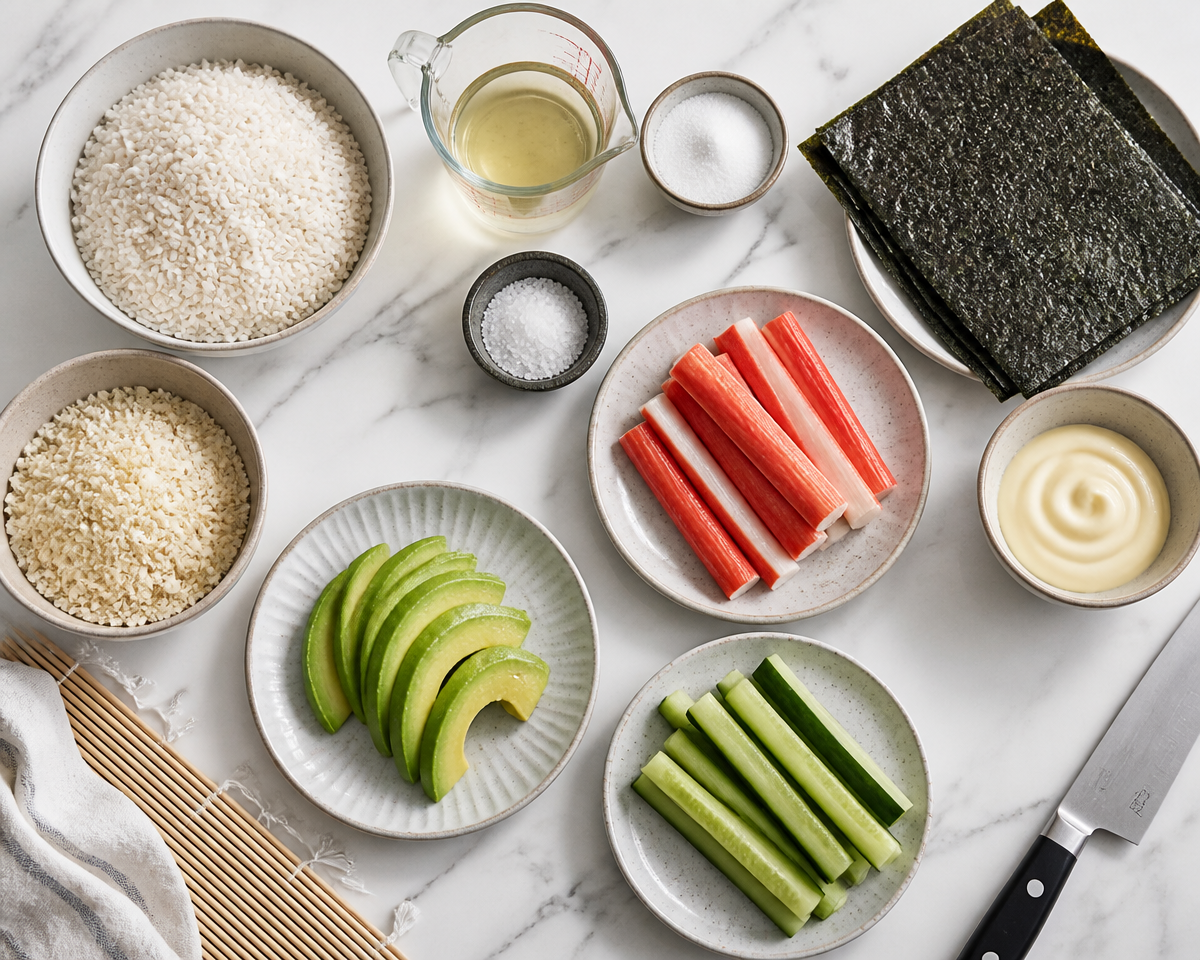
Ingredients for the Sushi Rice, Crab Filling and Crunchy Topping
I am keeping this list realistic. No specialty tools beyond a bamboo mat if you can grab one, and no hard to find ingredients unless you want to get fancy.
Quick ingredient checklist
- Short grain sushi rice
- Rice vinegar, sugar, salt
- Nori sheets
- Imitation crab (or real crab if you feel like treating yourself)
- Japanese mayo or regular mayo
- Avocado, cucumber
- Panko breadcrumbs
- Optional: sriracha, eel sauce, sesame seeds
- Optional for serving: soy sauce, pickled ginger, wasabi
A quick crab note. Imitation crab is classic for this roll, and it is what most people expect in California crunch roll sushi. If you use real crab, keep it simple and do not drown it in mayo. Let it taste like crab.
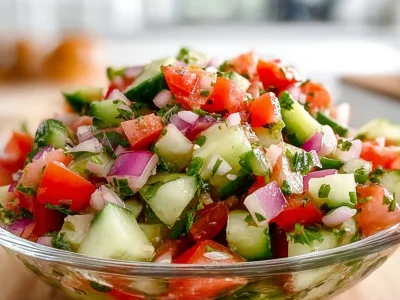
Also, if you are in a cucumber mood lately, you should try this refreshing side I make when I want something crunchy next to sushi: California Roll Cucumber Salad. It is cool and tangy and kind of addictive.
Rinsing, Cooking and Seasoning Short-Grain Sushi Rice
This is the part that makes home sushi feel legit. Rice is not just a filler. Good rice is the whole mood.
Rinse your short grain rice in a bowl with cool water, swish it around, drain, and repeat a few times until the water is mostly clear. This helps the rice cook up sticky but not gummy.
Cook it according to your rice cooker or pot instructions. After it is cooked, let it sit covered for about 10 minutes so the texture finishes setting.
Now season it. Warm rice plus the vinegar mix is what creates that classic sushi flavor. Stir together rice vinegar, sugar, and salt until it dissolves. Then gently fold it into the rice. Be patient and gentle. You want glossy grains, not mashed rice.
And yes, you can make the rice earlier in the day. Just keep it covered at room temp for a few hours. Cold rice from the fridge is stiff and harder to roll.
Setting Up a Plastic-Wrapped Bamboo Mat and Vinegar Water
This is the simple trick that keeps your kitchen from turning into a sticky rice situation. Wrap your bamboo mat with plastic wrap. That way the rice does not get stuck in the grooves, and cleanup is basically nothing.
Next, make a little bowl of vinegar water. I just do water with a small splash of rice vinegar. Dip your fingers in it before touching rice. Your hands will still get a little sticky, but it is so much easier to handle.
Set up your station like a mini assembly line. Rice, nori, fillings, and a small towel nearby. Once you start, it goes fast.
Spreading Rice Evenly and Flipping the Nori for an Inside-Out Roll
An inside out roll is what most people picture when they think of California style sushi. Rice on the outside, nori tucked inside.
Lay a nori sheet shiny side down on the plastic wrapped mat. Grab a handful of rice and spread it gently across the nori. Do not press like you are packing a snowball. Just pat it into an even layer, leaving about a half inch bare at the top edge.
Now the fun part. Sprinkle a few sesame seeds if you want, then flip the nori over so the rice faces down on the mat. The nori is now on top, ready for fillings.
If your first flip is messy, it is fine. Mine looked chaotic the first time. You will still roll it up and it will still taste amazing.
Adding Crab, Avocado and Cucumber Without Overfilling
This is where people get excited and accidentally make it impossible to roll. Resist the urge to stuff it like a burrito.
Mix your crab with mayo in a small bowl. If you like heat, add a little sriracha. You want it creamy but not runny.
Cut avocado into strips. Cut cucumber into thin sticks. Then line everything up across the middle of the nori, horizontal like a little filling runway.
A good guide is this: one modest line of crab, plus a couple avocado strips, plus a couple cucumber sticks. That is it. The bite should feel balanced, not like one giant chunk of avocado.
This is also where I like to remind myself why I am making California crunch roll sushi at home. Because I can control the avocado and make it actually ripe and buttery, not sad and under-ripe.
Rolling and Shaping the Sushi Without Squeezing Out the Filling
Rolling is not about muscle. It is about gentle pressure and keeping everything tucked.
Lift the edge of the mat closest to you and fold it over the fillings. Use your fingers to hold the fillings in place as you roll forward. Once the rice meets rice, give it a gentle squeeze to shape it into a tight log. Not a death grip. Just enough to hold.
Keep rolling until it closes. If the nori edge is not sticking, dab a tiny bit of water on it and press again.
If you end up with a slightly uneven log, do not panic. You can shape it with the mat by pressing gently along the top and sides. It is surprisingly forgiving.
Securing Toasted Panko with Spicy Mayo or Eel Sauce
This is the crunchy signature, and it is what makes California crunch roll sushi feel like a special treat.
Toast panko in a dry pan over medium heat, stirring often, until it turns golden. It goes from pale to burnt fast, so stay near it. Once toasted, let it cool for a minute.
Now you need a sticky layer so the panko stays put. You have options:
Option 1: drizzle spicy mayo over the roll, then roll the top and sides in toasted panko.
Option 2: drizzle eel sauce, then press panko on top for a sweet savory crunch.
Option 3: use both, because honestly it is delicious.
One little personal tip: I like to press panko onto the roll with the mat gently, so it adheres without smashing the rice.
I tried this at home after wasting too much money on takeout sushi, and the toasted panko made it taste like a real restaurant roll. The step by step rolling tips helped so much. I am making it again this weekend.
Slicing Eight Clean Pieces with a Sharp Damp Knife
Slicing is where a lot of homemade sushi falls apart, but the fix is simple. Use a sharp knife and keep it damp.
Dip the knife tip in water, wipe it quickly, then slice. Cut the roll in half first, line up the halves, then cut into quarters, then into eighths. That gives you eight pieces that are roughly the same size.
If the knife starts dragging, wipe it and dampen again. Especially with panko on the outside, you want clean confident cuts.
Serve immediately with soy sauce, ginger, and wasabi if you like. And if you want a fun little dessert after sushi night, this one is dangerously easy: Air Fryer Cinnamon Roll Bites (Canned Biscuits). It is sweet, warm, and basically disappears in minutes.
Spicy, Vegetarian and Tempura Variations Plus Storage Tips
The best part of making California crunch roll sushi yourself is that you can tweak it based on your mood.
Easy variations you can try
Spicy: mix sriracha into the crab mayo, and add thin jalapeno slices inside.
Vegetarian: skip the crab and do avocado, cucumber, and shredded carrot, plus extra sesame seeds and spicy mayo.
Tempura vibe: add a strip of cooked tempura shrimp inside, then still do panko on top for extra crunch.
Storage tips, real talk. Sushi is best fresh. The rice dries out in the fridge and the avocado can brown. If you must store it, wrap pieces tightly in plastic wrap and refrigerate up to 24 hours. Let it sit at room temp for about 15 minutes before eating so the rice softens a bit. I do not recommend freezing.
Also, if you are making these for guests, prep your fillings and toast your panko ahead of time. Then roll right before serving. That way the crunch stays loud and the rice stays soft.
Common Questions
Can I make California crunch roll sushi without a bamboo mat?
Yes. Use a thick kitchen towel wrapped in plastic wrap. It is not perfect, but it works well enough for a tight roll.
What crab should I use?
Imitation crab is classic and easy. If you use real crab, keep the mayo light so the crab flavor still stands out.
Why is my rice sticking to my hands so much?
Use vinegar water on your fingertips and do not overwork the rice. Also, warm rice is easier to spread than cold rice.
How do I keep the roll from falling apart when slicing?
Make sure the roll is snug when you shape it, then use a sharp damp knife and cut in halves first before slicing smaller pieces.
Can I toast panko ahead of time?
Totally. Toast it, cool it, and store it in a dry container for a day or two. It stays crunchy as long as it stays dry.
Sushi Night Wrap Up and A Little Extra Inspiration
If you take anything from this post, let it be this: keep the fillings simple, shape the roll gently, and do not skip the toasted panko because that crunch is the whole point. California crunch roll sushi at home is very doable once you set up your station and give yourself permission to be a beginner. After a couple tries, you will get faster and your rolls will look cleaner, but even the messy ones taste great. If you want another take on the same idea, I enjoyed reading California Crunch Sushi Roll – FlyPeachPie because it is always nice to see how other home cooks build their crunchy topping and sauces. Now go grab that avocado and make your own California crunch roll sushi tonight, you are going to be so happy you did. 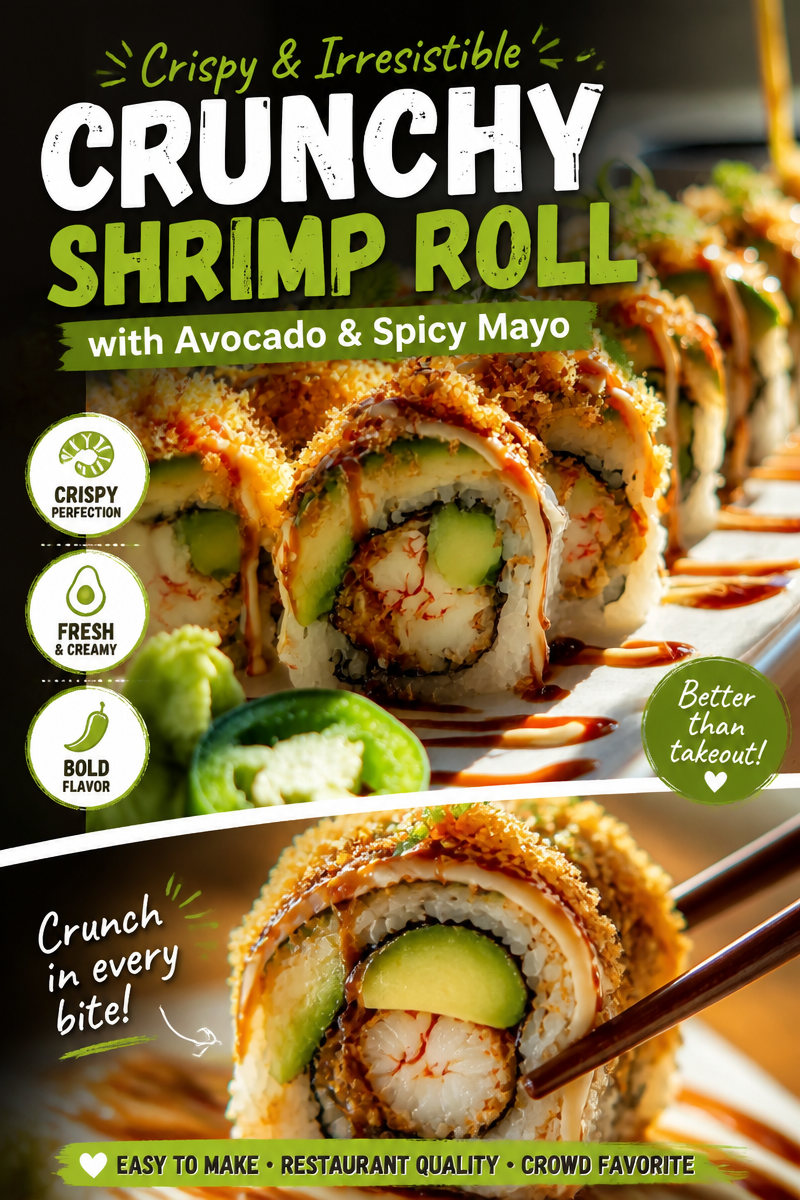
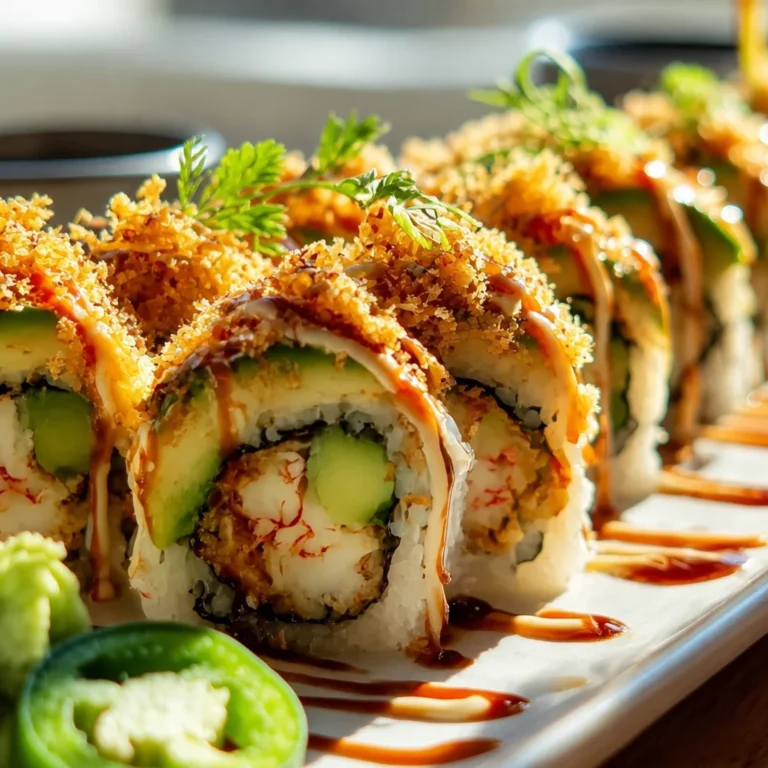
California Crunch Roll Sushi
A fun and crunchy sushi roll that features creamy avocado, sweet crab filling, and a crispy panko topping, perfect for a satisfying at-home meal.
- Total Time: 50 minutes
- Yield: 4 servings 1x
Ingredients
- 1 cup short grain sushi rice
- 2 tablespoons rice vinegar
- 1 tablespoon sugar
- 1/2 teaspoon salt
- 4 nori sheets
- 8 oz imitation crab (or real crab)
- 2 tablespoons Japanese mayo (or regular mayo)
- 1 avocado, sliced
- 1 cucumber, cut into thin sticks
- 1 cup panko breadcrumbs
- Optional: sriracha, eel sauce, sesame seeds
- For serving: soy sauce, pickled ginger, wasabi
Instructions
- Rinse the sushi rice in cool water until the water runs clear.
- Cook the rice according to package instructions and let it sit covered for about 10 minutes.
- Mix together rice vinegar, sugar, and salt until dissolved, then gently fold it into the warm rice.
- Wrap your bamboo mat with plastic wrap to prevent the rice from sticking.
- Prepare a bowl of vinegar water to dip your fingers in for handling the rice.
- Lay a nori sheet on the mat shiny side down and spread a handful of rice evenly over it, leaving a half inch at the top.
- Flip the nori over so the rice is facing down.
- Mix crab with mayo and a dash of sriracha if desired, then line the center of the nori with the crab mixture, avocado, and cucumber.
- Roll the sushi using the mat, applying gentle pressure until the roll is formed and the nori edges stick.
- Toast panko in a dry pan until golden.
- Drizzle spicy mayo or eel sauce over the roll and press the toasted panko on top.
- Slice the roll into 8 pieces using a sharp, damp knife.
- Serve immediately with soy sauce, pickled ginger, and wasabi.
Notes
Sushi is best served fresh. If storing, wrap in plastic and refrigerate for up to 24 hours, allowing it to sit at room temperature before serving.
- Prep Time: 20 minutes
- Cook Time: 30 minutes
- Category: Main course
- Method: Rolling
- Cuisine: Japanese
- Diet: Pescatarian
Nutrition
- Serving Size: 2 rolls
- Calories: 450
- Sugar: 3g
- Sodium: 500mg
- Fat: 15g
- Saturated Fat: 3g
- Unsaturated Fat: 9g
- Trans Fat: 0g
- Carbohydrates: 60g
- Fiber: 4g
- Protein: 12g
- Cholesterol: 30mg









No comment yet, add your voice below!