Classic Hello Kitty Cake is a must-have for birthdays, themed parties, or any special celebration. With its adorable design and delicious flavors, it’s the perfect showstopper for any occasion. Whether you’re an experienced baker or trying your hand at cake decorating for the first time, this step-by-step guide will help you create a stunning and tasty Hello Kitty cake at home.
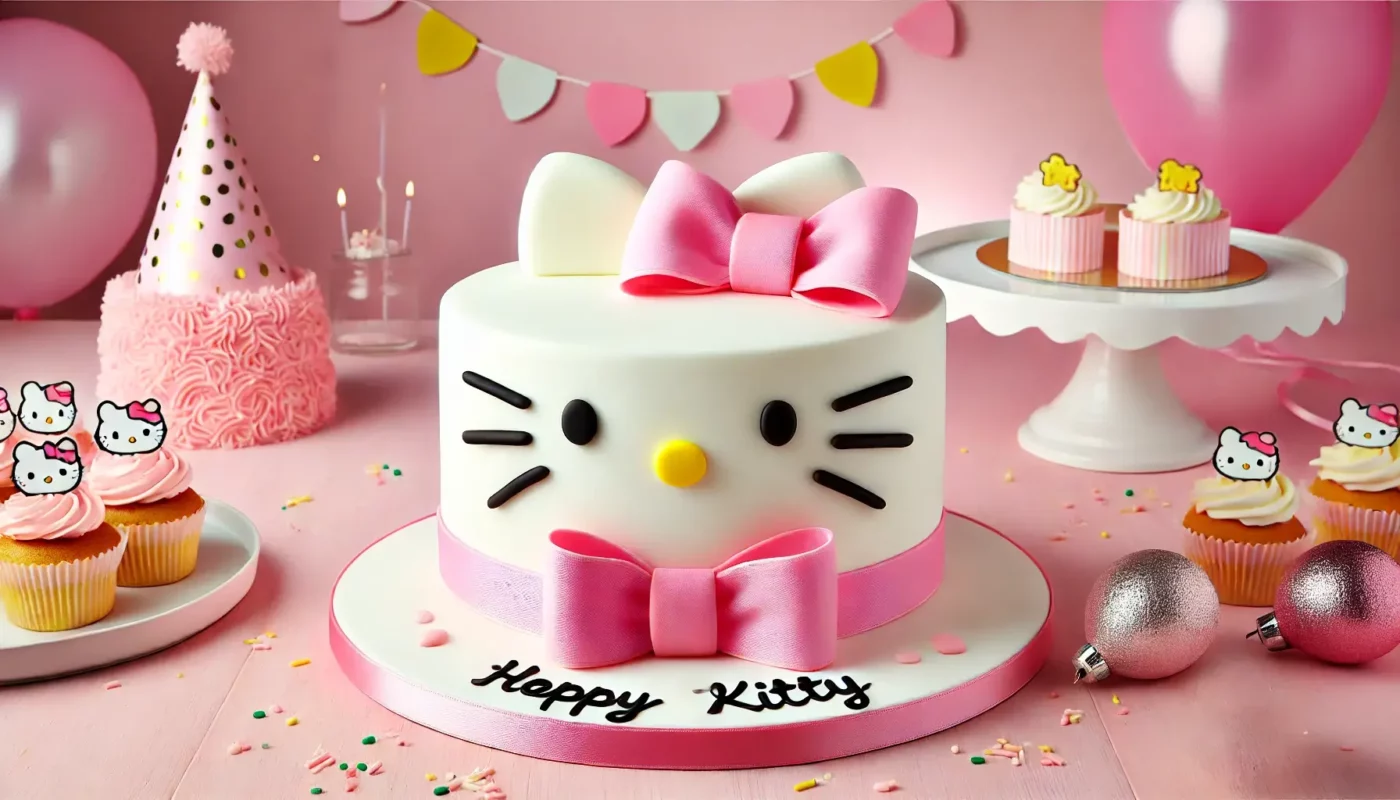
With simple ingredients and basic tools, you can bring Hello Kitty to life in your own kitchen. This fun and creative process will surprise and delight Hello Kitty fans of all ages. From baking the perfect cake base to decorating the face, this guide has everything you need to get started.
Let’s dive in and create a cake that’s as cute as it is delicious!
Ingredients for the Perfect Classic Hello Kitty Cake
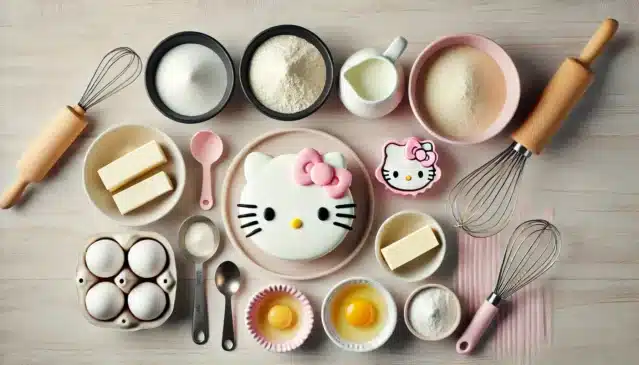
Every great cake starts with the right ingredients. A mix of basic pantry staples and a few special additions will help you achieve the perfect balance of flavor and texture.
Must-Have Ingredients
- All-purpose flour – Provides structure and fluffiness
- Granulated sugar – Adds sweetness and moisture
- Unsalted butter – Creates a rich, buttery taste
- Eggs – Give the cake stability and softness
- Whole milk – Ensures a smooth, creamy batter
- Vanilla extract – Enhances the flavor
- Baking powder & salt – Helps the cake rise perfectly
Add Iconic Details
To achieve Hello Kitty’s signature look, you’ll need white, pink, and black fondant to create her bow, whiskers, and facial features. Gel food coloring adds vibrant pops of color, while edible markers help with precise detailing. If fondant isn’t available, buttercream frosting is a great alternative for decorating and shaping Hello Kitty’s iconic design.
Pro Tip:
For the best results, use fresh ingredients at room temperature—this helps everything blend smoothly for a light, fluffy texture.
Recipe: Step-by-Step Instructions to Bake the Cake
Prepare time
Cooking Time
Total Time
Portions
Making a Classic Hello Kitty Cake is simpler than you think! With just the right ingredients and a few easy steps, you’ll have a delicious and adorable dessert ready to impress. Below is the complete recipe for a cake that serves 4 portions, perfect for a small celebration or a cozy gathering. Let’s dive in!
Ingredients for 4 Servings
- All-purpose flour: 1 ¼ cups
- Granulated sugar: ¾ cup
- Unsalted butter: ½ cup (softened)
- Eggs: 2 large
- Whole milk: ½ cup
- Vanilla extract: 1 teaspoon
- Baking powder: 1 ¼ teaspoons
- Salt: ¼ teaspoon
For Decoration
- Buttercream frosting: 1 ½ cups
- Fondant: Small amounts of white, pink, and black
- Gel food coloring: Optional (pink and yellow recommended)
How to Make the Perfect Classic Hello Kitty Cake
Step 1: Preheat & Prepare
Start by preheating your oven to 350°F (175°C). Grease and flour your cake pan—whether you’re using a Hello Kitty-shaped mold or a simple round pan. This ensures an easy release after baking.
Step 2: Make the Batter
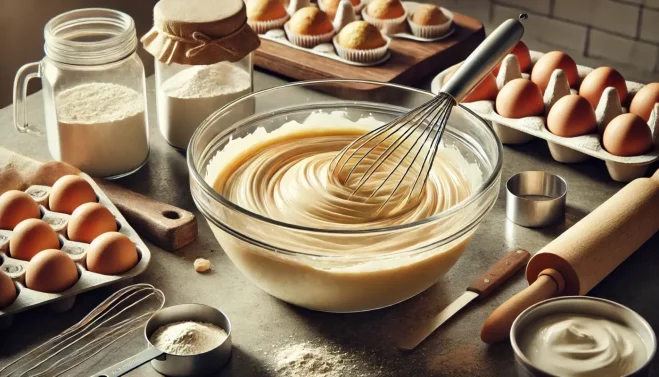
1️⃣ In a large mixing bowl, cream the butter and sugar together until light and fluffy.
2️⃣ Add eggs one at a time, mixing well after each addition.
3️⃣ Stir in vanilla extract for extra flavor.
4️⃣ In another bowl, whisk together flour, baking powder, and salt. Slowly add this to the wet ingredients, mixing until just combined—overmixing can make the cake dense!
Step 3: Bake the Cake
- Pour the batter into the prepared cake pan, smoothing the top.
- Bake for 25–30 minutes, or until a toothpick inserted in the center comes out clean.
- Let the cake cool in the pan for 10 minutes, then transfer it to a wire rack to cool completely before decorating.
Decorating Your Classic Hello Kitty Cake
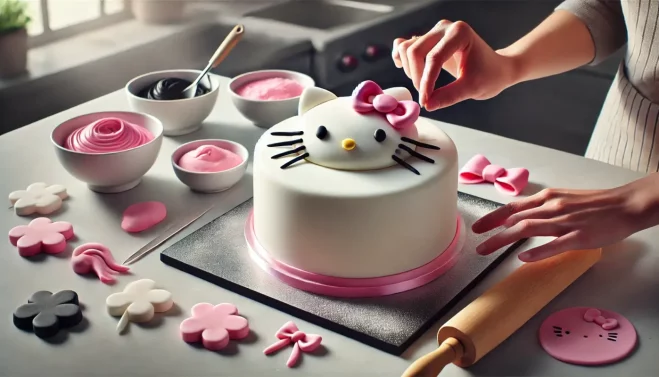
This is where the magic happens! Transforming your cake into Hello Kitty is easier than you think with fondant, buttercream, and a few key tools.
Step 1: Prepare the Cake for Decorating
Make sure your cake has completely cooled before decorating. Trim any uneven edges for a smooth surface. Apply a thin layer of buttercream frosting as a crumb coat—this helps the fondant stick better.
Step 2: Cover with Fondant
Roll out white fondant large enough to cover the cake, then gently drape it over. Use a fondant smoother or your hands to remove air bubbles and trim off the excess.
Step 3: Create Hello Kitty’s Features
- The Bow: Cut two pink fondant triangles and a small circle for the center.
- Eyes & Whiskers: Use black fondant to shape small ovals for the eyes and thin strips for whiskers.
- Nose: Roll out a tiny oval from yellow fondant.
- Attach Everything: Use a tiny dab of water or edible glue to secure the details.
Step 4: Add the Final Touches
- Use edible markers or gel food coloring to outline features or add shading.
- Add a sprinkle of edible glitter for a magical touch.
- Personalize it with a name, age, or extra decorations like fondant stars or flowers.
Now, step back and admire your adorable Hello Kitty Cake!
Serving and Storing Your Hello Kitty Cake
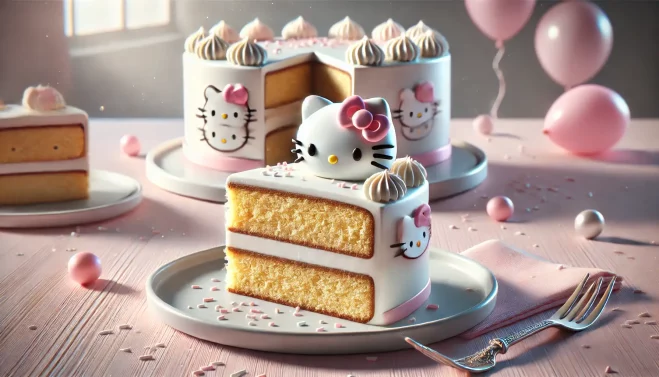
Serving Tips
Use a sharp, serrated knife to ensure clean slices without damaging the fondant. Begin cutting at the edges and work your way toward the center to maintain the integrity of the design. Be sure to wipe the knife clean between each cut for a flawless and professional finish.
Storing Leftovers
Short-Term: Store in an airtight container at room temperature for up to 3 days. Refrigerate if using perishable fillings.
Long-Term: Wrap slices in plastic wrap + aluminum foil and freeze for up to 3 months. Thaw overnight in the refrigerator.
Make It Your Own – Fun Customizations!
Want to add a personal touch? Here are some easy ways to customize your Hello Kitty Cake:
- Try New Flavors – Swap vanilla for chocolate, strawberry, or red velvet for a fun twist.
- Make It Dietary-Friendly – Use gluten-free flour, dairy-free milk, or vegan substitutes.
- Change the Look – Try different bow colors, party hats, or accessories to match the theme.
- Pair with Matching Treats – Serve with Hello Kitty cupcakes, sugar cookies, or themed cake pops.
Final Thoughts
Creating a Classic Hello Kitty Cake is more than just baking—it’s about having fun, expressing creativity, and making sweet memories. Whether you follow the recipe exactly or customize it to your liking, this cake is guaranteed to bring smiles and excitement to any celebration.
Once you’ve finished your masterpiece, we’d love to see it! Share your creation on social media using #ClassicHelloKittyCake and tag us—we might even feature your design!
Now it’s time to roll up your sleeves, start baking, and let your creativity shine. Happy decorating!
Want More Fun & Delicious Recipes?
If you loved making this Hello Kitty Cake, explore even more creative and delicious ideas on our site! Whether you’re baking for a birthday, a celebration, or just for fun, we’ve got the perfect recipe waiting for you.
Explore More Recipes Now!
Follow us on Facebook for new recipe ideas, baking tips, and behind-the-scenes fun.
Classic Hello Kitty Cake
5 Stars 4 Stars 3 Stars 2 Stars 1 Star
No reviews
- Author: Olivia Brooks
- Total Time: 1 hour
- Yield: 4 servings
Description
An adorable, party-perfect Hello Kitty cake that’s fun to make and even better to eat. Ideal for birthdays or special celebrations, this vanilla-based cake is topped with cute fondant features that will delight Hello Kitty fans of all ages.
Ingredients
Cake Base:
1 ¼ cups all-purpose flour
¾ cup granulated sugar
½ cup unsalted butter (softened)
2 large eggs
½ cup whole milk
1 tsp vanilla extract
1 ¼ tsp baking powder
¼ tsp salt
For Decorating:
1 ½ cups buttercream frosting
White, pink, and black fondant (small amounts)
Gel food coloring (pink, yellow – optional)
Instructions
Preheat oven to 350°F (175°C). Grease and flour your cake pan (Hello Kitty mold or round).
In a large bowl, cream butter and sugar until light and fluffy.
Add eggs one at a time, mixing well. Stir in vanilla.
In a separate bowl, mix flour, baking powder, and salt. Gradually combine with wet mixture.
Pour into pan and bake 25–30 minutes or until toothpick comes out clean.
Cool 10 minutes in pan, then fully on wire rack.
Decorating:
Apply a crumb coat of buttercream. Cover with rolled white fondant and smooth.
Use pink fondant for the bow, black for eyes/whiskers, yellow for the nose.
Attach details with edible glue or water.
Add final touches with edible markers or glitter.
Notes
Store at room temperature for 3 days or refrigerate if using perishable fillings. Can be frozen (wrapped) up to 3 months. Personalize with name or themed decorations.
- Prep Time: 25 minutes
- Cook Time: 30 minutes
- Category: Dessert
- Method: Baking
- Cuisine: American
Nutrition
- Serving Size: 1 slice
- Calories: 340
- Sugar: 30g
- Sodium: 180mg
- Fat: 18g
- Saturated Fat: 10g
- Unsaturated Fat: 6g
- Trans Fat: 0g
- Carbohydrates: 40g
- Fiber: 1g
- Protein: 4g
- Cholesterol: 75mg


No comment yet, add your voice below!