Fondant Hello Kitty cake designs are where creativity shines. Use bright colors, fun textures, or edible decorations like glitter and pearls to transform your cake into a true showstopper for birthdays, baby showers, or themed parties.
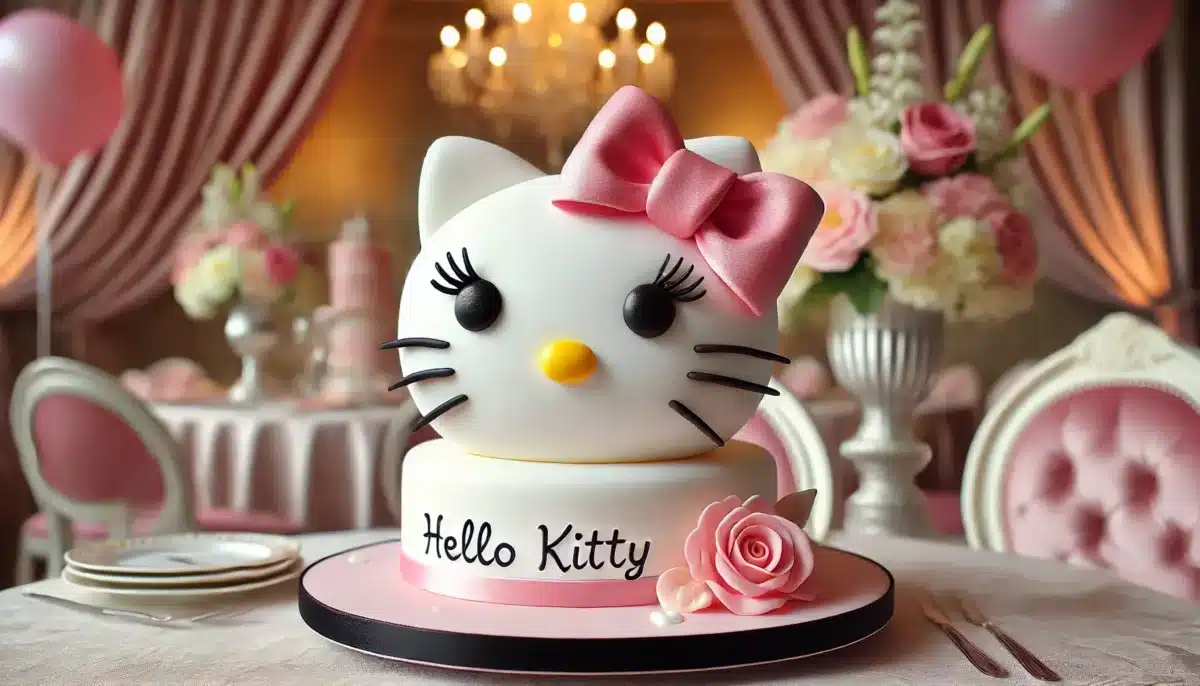
Fondant Hello Kitty cake projects suit bakers of all skill levels. Beginners can use pre-made fondant pieces for a clean, simple look, while experienced decorators can sculpt detailed, custom features. Either way, this cake becomes a playful, artistic expression.
With every Fondant Hello Kitty cake, you bring joy, sweetness, and unforgettable charm to the table, leaving guests not only impressed by the look, but smiling at every bite.
Easy Recipe For Fondant hello kitty cake
Prepare time
Cooking Time
Total Time
Portions
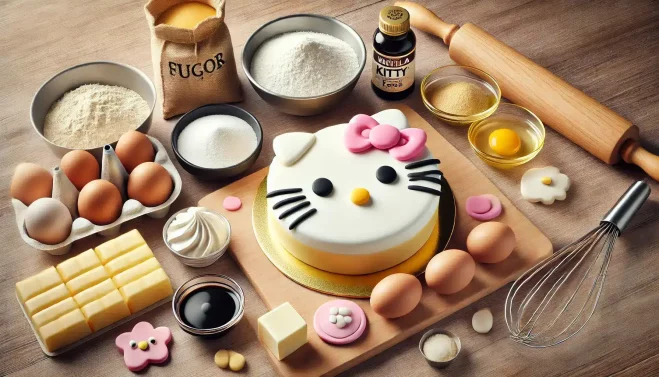
Preparation Method for Fondant Hello kitty cake
Fondant Hello Kitty cake is loved for a reason, she’s cute, classic, and full of charm. A cake with Hello Kitty on it is always a crowd-pleaser. But this isn’t just about looks; it’s a fluffy, delicious treat that brings joy to any occasion.
Whether you’re baking for kids, Hello Kitty fans, or just want a showstopping dessert, this Fondant Hello Kitty cake delivers on both flavor and presentation. Plus, it’s easy to customize with your favorite colors, flavors, and decorations to make it uniquely yours.
Step 1: Baking a Soft and Fluffy Cake Base
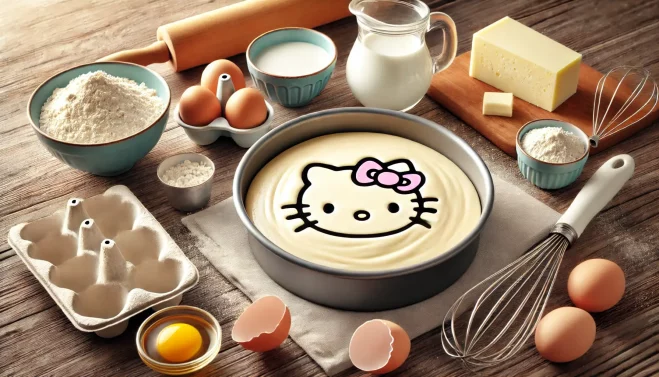
Fondant Hello Kitty cake starts with a perfect base. Preheat the oven to 350°F (175°C) and grease an 8-inch round or oval cake pan, lining it with parchment paper for easy removal. In a bowl, whisk together flour, baking powder, and salt.
In another bowl, beat softened butter and sugar until light, fluffy, and pale, this step is key for a lighter texture. Add eggs one at a time, mixing well after each, then stir in the vanilla extract. Gradually add the dry ingredients, alternating with milk, and mix until smooth.
Pour the batter into your prepared pan and bake for 25–30 minutes, or until a toothpick comes out clean. Let it cool completely before shaping and decorating your Fondant Hello Kitty cake.
Step 2: Shaping & Crumb Coating the Cake
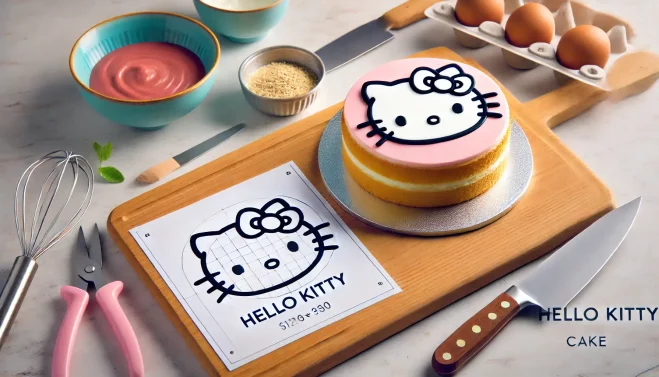
Fondant Hello Kitty cake decorating begins with shaping the cake into her iconic face. Use a printed template or freehand your own oval outline, then carefully cut the cake to match. Trim any uneven edges for clean, smooth contours—this sets the foundation for a professional look.
Next, prepare the crumb coat. Beat 1/2 cup (115g) of unsalted butter until creamy. Gradually add 2 cups (250g) of powdered sugar, 1 teaspoon of vanilla extract, and 2–3 tablespoons of milk. Mix until the buttercream is smooth and easy to spread.
Apply a thin layer over the cake to seal in crumbs and create a clean surface for your fondant. Chill the cake in the fridge for 20–30 minutes so the buttercream firms up—this step is essential for a neat, flawless Fondant Hello Kitty cake finish.
Step 3: Covering the Cake with Fondant
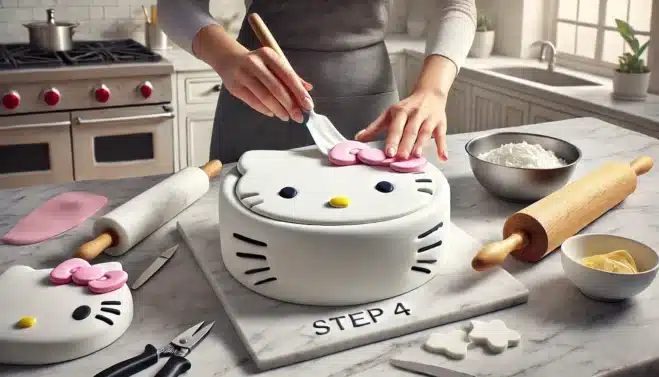
Now comes the magical moment—bringing your fondant Hello Kitty cake to life! A smooth, flawless finish will make all the difference, so let’s get started.
You’ll need:
- 1 lb (450g) of white fondant for the face
- 2 oz (50g) of black fondant for the eyes and whiskers
- 1 oz (25g) of yellow fondant for the nose
- 2 oz (50g) of pink fondant for the bow
Roll out the white fondant on a clean, lightly dusted surface until it’s about 1/8-inch thick. Gently lift it and drape it over the cake, using your hands or a fondant smoother to press it into place. Work from the center outward to remove air bubbles and create a silky, even surface. Trim any excess fondant for a clean, professional finish.
Step 4: Bringing Fondant Hello Kitty’s Face to Life
Now comes the most exciting part—giving Hello Kitty her adorable expression! These details are what make a Hello Kitty cake design truly special.
- Eyes: Roll out the black fondant and cut two small ovals.
- Whiskers: Cut thin strips for those signature whiskers.
- Nose: Shape a tiny yellow oval for her cute little nose.
And of course, Hello Kitty wouldn’t be complete without her iconic bow! Roll out the pink fondant and form two rounded loops with a small knot in the center.
Now, carefully attach each piece to the cake using a tiny amount of water or edible glue. Gently press them into place and adjust as needed to capture her sweet, charming look.
Step 5: The Finishing Touches
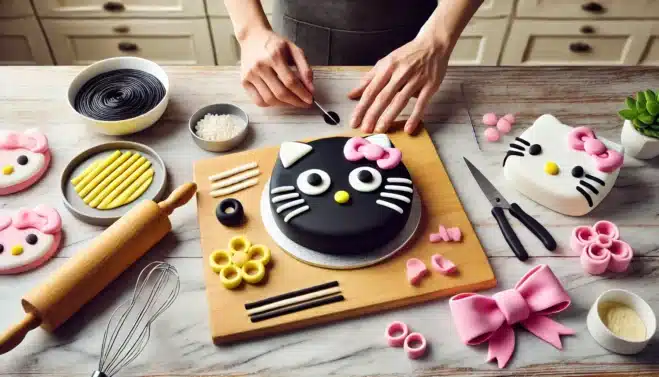
Your Fondant Hello Kitty cake for a birthday is almost complete! Now, let’s add those special little details that will make it truly shine.
- Add a little sparkle: Lightly dust the bow with edible glitter for a magical touch.
- Make it elegant: Place tiny pearl sugar beads along the whiskers for a delicate finish.
- Personalize it: Use edible markers or piped icing to write a special name or message.
These final touches will take your cake to the next level! Step back and admire your work—you’ve created a Hello Kitty cake design that looks straight out of a bakery, yet has the warmth and love of a homemade creation.
Why This Cake Will Be the Star of the Party
Fondant Hello Kitty cake is more than just a cake—it’s a moment of pure joy, nostalgia, and creativity. With soft sponge layers, creamy buttercream, and smooth fondant, every bite is as delightful as it looks.
More than dessert, a Fondant Hello Kitty cake lights up any celebration, exciting kids and adults alike. It’s the perfect centerpiece for birthdays, creating memories that last long after the final slice.
So roll up your sleeves, tap into your creativity, and have fun bringing Hello Kitty to life in cake form. Happy baking!
For more adorable ideas and designs, check out our full roundup of Hello Kitty cakes—you’ll find even more inspiration, tips, and step-by-step guides for your next baking project.
And don’t forget to visit our Facebook page and join the fun!
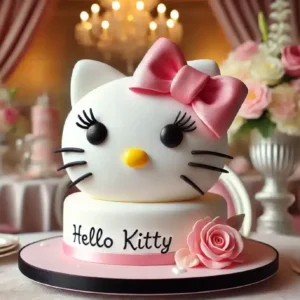
Fondant Hello Kitty Cake
5 Stars 4 Stars 3 Stars 2 Stars 1 Star
No reviews
- Author: Sarah Mitchell
- Total Time: 4 hours
- Yield: 12 slices
- Diet: Vegetarian
Description
A two-tiered Hello Kitty cake covered in white fondant, decorated with pink, black, and yellow fondant details to create her adorable face. Perfect for themed birthdays and celebrations.
Ingredients
Cake Tiers:
2 cake layers (6″ & 8″) – flour, butter, sugar, eggs, vanilla, baking powder
Crumb Coat & Frosting:
1/2 cup unsalted butter
2 cups powdered sugar
1 tsp vanilla extract
Fondant Decoration:
450 g white fondant – to cover both tiers
50 g pink fondant – for bow and accents
50 g black fondant – eyes and whiskers
25 g yellow fondant – nose
Instructions
Preheat oven to 350°F (175°C) and grease the pans.
Prepare the batter: mix flour, baking powder, butter, sugar, eggs, and vanilla.
Divide into the two pans (6″ and 8″) and bake 25–35 minutes. Check with a toothpick.
Cool completely and level the tops.
Apply a thin crumb coat with buttercream and refrigerate for 30 minutes.
Roll out the white fondant (1/8″ thick), cover each tier and trim excess.
Stack the cakes, using dowels or support rods if needed.
Cut and shape the black fondant for eyes and whiskers, yellow for the nose, and pink for the bow.
Assemble the Hello Kitty face and finish with decorations or messages.
Let set for a few hours before serving. Store cool.
Notes
You can create the decorations using fondant or gumpaste. Use a stable support system for the top layer if transporting.
- Prep Time: 45 minutes
- Cook Time: 35 minutes
- Category: Cake
- Method: Baking
- Cuisine: International
Nutrition
- Serving Size: 1 slice
- Calories: 320
- Sugar: 32g
- Sodium: 120mg
- Fat: 14g
- Saturated Fat: 8g
- Unsaturated Fat: 5g
- Trans Fat: 0g
- Carbohydrates: 45g
- Fiber: 0g
- Protein: 4g
- Cholesterol: 50mg


No comment yet, add your voice below!